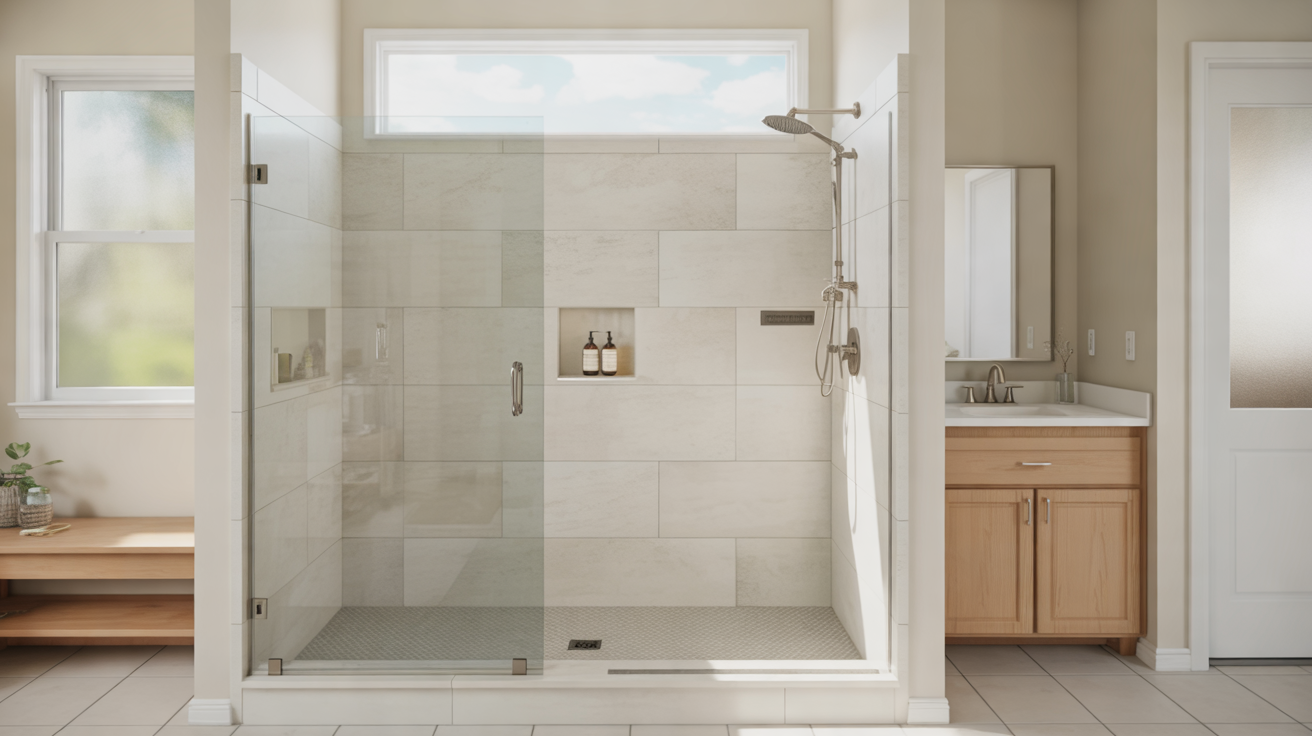
A successful shower replacement follows a clear, predictable process. Knowing what happens from the first swing of the hammer to the final inspection helps you plan, budget, and protect your home while the work is underway.
This guide walks through each major step an experienced shower contractor typically follows, explains where you’ll need to make decisions, and highlights what you should look for before signing off on the finished job.
1. Pre-Project Planning and Site Visit
Before any demolition begins, a licensed contractor should inspect your existing shower and surrounding bathroom. This is where design ideas meet real-world plumbing and structural limits.
What usually happens at this stage
- Measure the shower area – length, width, height, and ceiling clearances.
- Check plumbing layout – drain location, water lines, shut-off valves, and water pressure.
- Inspect for visible damage – cracked tile, soft flooring, sagging walls, mold stains, or old caulk.
- Discuss your goals – accessibility, low maintenance, family use, or a spa-style upgrade.
- Review material options – tile vs acrylic, wall panels, glass doors, fixtures, and storage.
For help comparing materials and layouts, you can explore resources like Tile vs Acrylic Showers: Which Is Better for Your Bathroom? and Types of Shower Systems: Walk-In, Alcove, Corner and More.
2. Protecting Your Home and Preparing the Bathroom
On installation day, the crew should protect your home before any demo starts. This keeps dust contained and prevents damage to floors and nearby rooms.
Common preparation steps
- Lay protective coverings on floors leading to the bathroom.
- Cover nearby furniture or fixtures with plastic sheeting.
- Set up fans or air scrubbers as needed for dust control.
- Confirm water shut-off locations and electrical safety.
Your role is usually simple: clear personal items, remove shower products, and provide access. For a detailed checklist, see How to Prepare Your Bathroom for a Shower Replacement Project.
3. Demolition: Removing the Old Shower
This is where the visible transformation begins. Careful demolition helps avoid damage to plumbing and surrounding walls.
Typical demo sequence
- Turn off water supply to the shower and verify it at the valve.
- Remove fixtures and accessories – showerhead, trim, glass doors, curtain rods, and grab bars.
- Take out wall materials – tile and backer board, fiberglass surrounds, or panels, usually down to studs.
- Remove the base or tub – the shower pan or existing tub is disconnected from the drain and carefully lifted out.
- Clean and dispose of debris in line with local requirements.
During demolition, hidden problems may appear: rotted framing, mold, or corroded pipes. A good contractor will pause, show you the issue, and explain your options before moving forward.
4. Inspection and Repair of the Rough Structure
With everything opened up, the crew can evaluate what’s behind the walls and under the old shower base.
What should be checked now
- Wall studs and framing for rot, termite damage, or warping.
- Subfloor condition for softness, sagging, or water stains.
- Existing waterproofing (if any) and how it failed.
- Ventilation path – whether there’s a working exhaust fan to move humidity out.
Any compromised framing or subfloor is typically repaired or replaced now. Skipping these repairs can lead to leaks and structural issues down the line.
5. Plumbing and Drain Upgrades
With the walls open, this is the best time to modernize plumbing. Updating these components can improve performance and reduce the risk of future leaks.
Common upgrades during shower replacement
- Replacing old shut-off valves and mixing valves.
- Adjusting drain location to match a new pan or layout.
- Upsizing or replacing old galvanized pipes with modern materials.
- Adding handheld sprayers or body jets if your design includes them.
For more detail on these options, see Shower Drain and Plumbing Upgrades to Do During Replacement.
6. Building the New Shower Base and Waterproofing
The shower base and waterproofing system are the foundation of a long-lasting shower. Mistakes here are the most common cause of leaks.
If using a prefabricated base
- Set the base on a leveled, properly supported surface (often with mortar for stability).
- Connect the drain and test for proper slope and drainage.
- Seal joints and edges according to manufacturer instructions.
If building a custom tile base
- Install or repair the subfloor as needed.
- Add a sloped mortar bed to guide water to the drain.
- Install a waterproof liner or modern membrane system.
- Perform a flood test, where allowed, to ensure no leaks before tiling.
After the base, the installer usually applies waterproof backer board and/or membranes to the walls, carefully sealing seams, corners, and niches.
7. Installing Walls, Tile, and Surrounds
Once waterproofing is complete, the visible surfaces of your new shower start to take shape.
Wall installation steps
- For panels or acrylic surrounds: panels are cut to size, dry-fitted, then adhered and sealed at seams.
- For tile: tile layout is planned, thinset applied, tiles placed, then grouted after curing.
- For built-in niches and benches: these are framed, waterproofed, then surfaced to match or accent the main design.
If you’re deciding between wall options, you may find Shower Wall Surrounds: Solid Surface, Panels and Tile Compared helpful, as well as Low-Maintenance Shower Materials That Resist Mold and Mildew.
8. Fixtures, Glass, and Finishing Touches
With the main surfaces complete, attention turns to the details that affect usability and style.
Typical finishing tasks
- Install shower valves, trim, showerheads, and handheld sprayers.
- Mount grab bars, corner shelves, and built-in or surface-mounted storage.
- Install glass doors or enclosures, or update curtain rods if you’re using a curtain.
- Seal all corners and transitions with high-quality, mold-resistant caulk.
- Touch up paint or wall finishes outside the shower area.
To compare enclosure options, see Glass Shower Doors vs Shower Curtains: Cost and Maintenance.
9. Lighting, Ventilation, and Safety Features
During a replacement, many homeowners take the opportunity to improve lighting, airflow, and safety.
Upgrades often considered
- Adding bright, moisture-rated shower lighting.
- Upgrading the exhaust fan for better humidity control.
- Choosing non-slip flooring materials or textured bases.
- Installing grab bars, seating, or low thresholds for accessibility.
For deeper guidance, explore Shower Lighting and Ventilation Upgrades During Replacement, Non-Slip Shower Flooring Options for Safer Bathrooms, and Senior-Friendly Shower Upgrades: Grab Bars, Seating and Non-Slip Floors.
10. Final Inspection, Testing, and Walkthrough
The last step is confirming that everything functions properly and meets the agreed design. This is your chance to ask questions and flag any concerns.
What a thorough final inspection includes
- Water test: running the shower to check for leaks at the valve, head, and drain.
- Drainage check: confirming water flows quickly to the drain without pooling.
- Caulk and grout review: looking for gaps, cracks, or missed spots.
- Glass and door alignment: doors open/close smoothly and seal correctly.
- Fixture operation: hot and cold balance, spray functions, and diverters work properly.
Walk through the space with your installer and make a punch list of any final touch-ups. Ask how to care for your specific materials; you can also reference How to Clean and Maintain Your New Shower for Long-Lasting Results.
How Long the Process Typically Takes
Timeline depends on the scope of work, materials, and whether hidden damage is uncovered.
| Project Type | Typical Duration | Notes |
|---|---|---|
| One-day shower replacement | 1–2 days | Usually uses prefabricated systems and existing plumbing locations. |
| Standard replacement (no major changes) | 3–5 days | Demo, minor repairs, new base, walls, and fixtures. |
| Custom tile or layout change | 1–2 weeks | Includes more complex waterproofing, tiling, and inspections. |
For more on timelines and whether a fast-track project makes sense for you, visit One-Day Shower Replacement: Is It Worth It? and Shower Replacement FAQs: Timelines, Warranties and Maintenance.
DIY vs Professional: Who Should Handle Each Step?
Some homeowners are comfortable handling minor demolition or painting. However, waterproofing, plumbing, and structural repairs are critical areas where mistakes are costly.
If you’re weighing your options, DIY vs Professional Shower Replacement: Risks, Costs and Results outlines where professional help usually provides the best long-term value.
Key Questions to Ask Before Work Begins
Before your contractor starts, make sure you understand:
- How long the project is expected to take and daily working hours.
- How they handle unexpected issues uncovered during demo.
- Exactly which materials and brands are included.
- What warranties apply to labor and products.
- How cleanup and debris removal will be managed.
You can use Checklist: Questions to Ask Before Booking a Shower Replacement as a simple way to stay organized during estimates and planning.
FAQs About the Shower Replacement Process
Will my bathroom be unusable the whole time?
In most projects, the shower area itself will be out of service until final inspection and caulk curing are complete. The toilet and sink often remain usable, but this depends on your layout and the scope of work.
How much mess and dust should I expect?
Demolition and cutting materials create dust and debris, but professional crews limit this with floor coverings, plastic barriers, and daily cleanup. Ask how your contractor protects surrounding rooms and hallways.
What if we find mold or rot during demolition?
This is common in older showers. Work should pause while the contractor explains the problem and the repair plan. Expect a change order if extra materials or labor are required; the goal is to fix it correctly before closing walls.
When can I start using the new shower?
After final inspection and once caulk and grout have fully cured. This can range from 24 to 72 hours, depending on products used. Your installer should give you specific wait times and care instructions.
For more answers about costs, timelines, and warranties, visit the Blog or the dedicated Shower Replacement FAQs page.