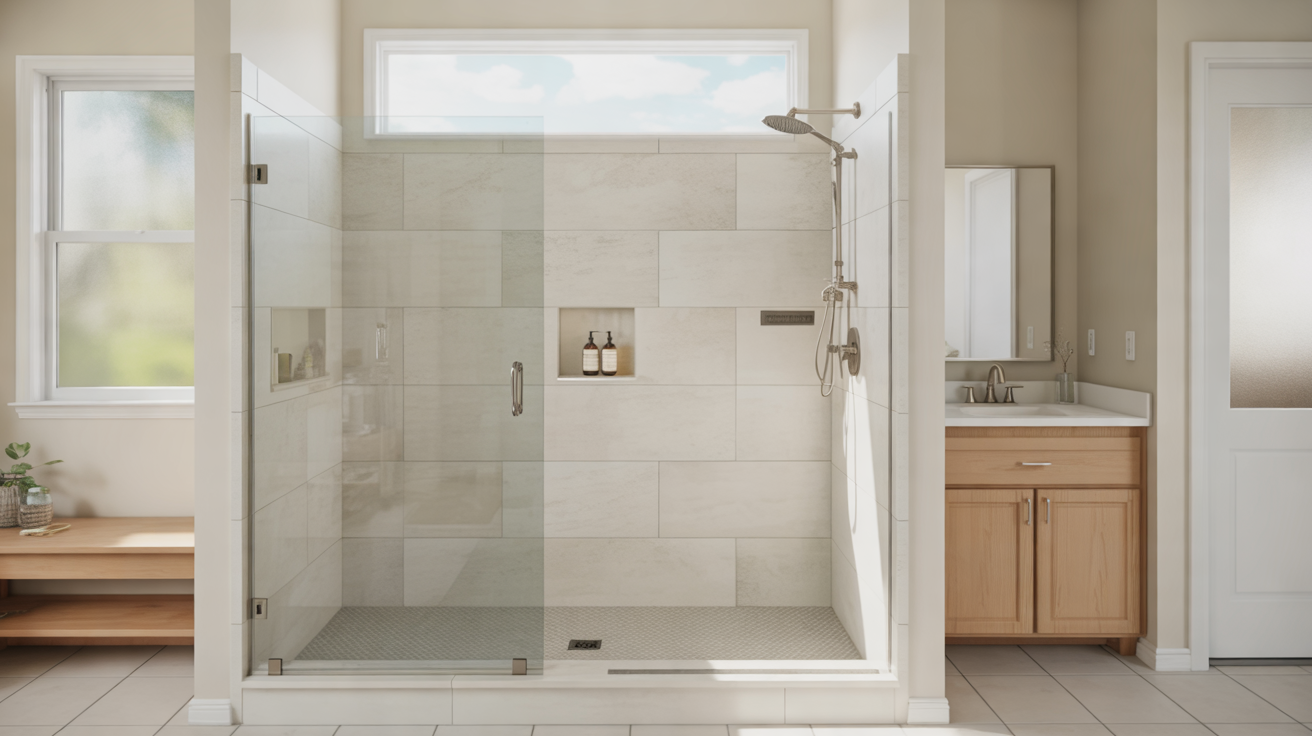
Preparing your bathroom before a shower replacement is the easiest way to avoid delays, protect your home from dust and damage, and keep the project running smoothly. A little planning also helps you stay comfortable while your main shower is out of service.
Use this guide as a step-by-step checklist so you know what to do in the days leading up to installation day and what to expect once the crew arrives.
1. Confirm the Details With Your Shower Contractor
Start by making sure you and your installer are on the same page about what will happen and when.
Questions to double-check before the start date
- Project start and estimated completion dates
- Daily work hours (when they arrive and leave)
- Which bathroom and areas of the home the crew will need to access
- Where they’ll park and bring materials into the house
- What you’re responsible for moving or protecting ahead of time
- How to reach the project manager during the job
You can find more helpful questions in the site’s shower replacement questions checklist.
2. Plan for Limited Bathroom Use
Most shower replacement projects will take your existing shower out of service for at least a day or two, and sometimes longer depending on materials and plumbing work.
Make a backup bathing plan
- Identify another bathroom in your home that everyone can share.
- If you only have one bathroom, ask a nearby friend or family member if you can use their shower during key parts of the project.
- Consider temporary options like using a gym membership for showers if needed.
Think about special needs
If anyone in your home has mobility issues, works odd hours, or relies on predictable routines, talk to your contractor about timing and access. For example, you may want noisy demo work limited to certain times of day.
3. Clear Out the Shower and Bathroom
Removing clutter not only protects your belongings from dust and debris, it also gives the crew room to work safely.
What to remove from the shower area
- Shampoo, soap, razors, and other toiletries
- Shower caddies, shelves, and organizers
- Shower curtains, rods, and bath mats
- Portable grab bars or suction-cup accessories
What to move from the bathroom
- Towels, robes, and laundry hampers
- Decor items (pictures, plants, candles, rugs)
- Small furniture like stools or storage carts
- Personal items on vanities or open shelves that could be in the way
Store these items in another room until the project is complete. This makes final cleanup faster and reduces the chance of damage.
4. Protect Surrounding Areas From Dust and Debris
Demolition can be noisy and dusty, especially when removing old tile or walls. Your contractor may bring plastic sheeting and floor protection, but you can add extra safeguards.
Simple ways to protect your home
- Lay washable rugs or old sheets in the hallway leading to the bathroom.
- Move breakable items away from the path workers will use to carry materials.
- Close doors to nearby rooms to contain dust.
- If you have built-in cabinets or open shelving near the shower, remove items or cover shelves with a light cloth.
Ask your installer what protection they typically provide so you know what’s already included.
5. Ensure Safe, Clear Access for the Crew
On installation day, the crew will be moving tools, debris, and new shower components in and out of your home. Keeping pathways clear saves time and helps avoid accidents.
Before the crew arrives
- Clear entryways and hallways of shoes, toys, and cords.
- Move furniture or decor that might block the route to the bathroom.
- Unlock gates and doors the team will use.
- Secure pets in another room or area for their safety and to keep them away from open doors.
6. Prepare Plumbing, Electrical, and Ventilation Access
Most homeowners won’t need to touch plumbing or electrical themselves, but making these areas easy to reach can shorten the project.
What you can do ahead of time
- Clear out under-sink cabinets if plumbing lines run through them.
- Move stored items away from access panels or attic hatches the crew may need for valves, vents, or wiring.
- Know where your main water shutoff is, in case the crew asks.
If you’re planning upgrades like a new shower drain, additional body sprays, or better ventilation, see the site’s guides on shower drain and plumbing upgrades and shower lighting and ventilation upgrades so you can finalize those details before work begins.
7. Protect Children, Pets, and Valuables
A shower replacement turns part of your home into a small construction site. Add a few safety measures to keep everyone and everything secure.
Safety tips during the project
- Explain to children which areas are off-limits while work is going on.
- Use baby gates if needed to block access to the work zone.
- Keep pets in a closed room or crate when the crew arrives and leaves.
- Move valuable or sentimental items away from nearby walls, shelves, and cabinets.
8. Decide on Design Details Before Demo Starts
Many delays happen because small decisions are left until the last minute. Clarify these choices before demolition so installation can move forward smoothly.
Design decisions to finalize
- Shower wall material: tile, acrylic, or other surrounds (see the shower wall surrounds comparison)
- Flooring type and finish, especially if you’re focused on safety; the non-slip flooring guide can help
- Door or curtain choice (see glass doors vs shower curtains)
- Location of niches, grab bars, and seating
- Fixture finishes and style so everything matches
Thinking ahead about your goals—whether budget, accessibility, or luxury—also helps. The site includes resources on budget shower upgrades, senior-friendly shower upgrades, and luxury shower features if you want more ideas before committing to a layout.
9. Know What Will Happen on Demo and Installation Days
Understanding the basic sequence of work makes the experience less stressful and helps you spot issues early.
Typical shower replacement steps
- Protect floors and nearby surfaces.
- Shut off water and remove existing fixtures and walls.
- Inspect framing and plumbing; make any needed repairs or upgrades.
- Install new shower base or pan.
- Install wall systems, doors or curtains, and fixtures.
- Seal joints and connections, then allow proper curing time.
- Test water flow and drainage, then complete final cleanup.
For a deeper look at each stage, you can read the step-by-step shower replacement process guide and the article on common shower replacement problems and how pros fix them.
10. Prepare for Cleanup and First Use
Once installation is complete, there are a few final steps before you can enjoy your new shower.
Right after the crew leaves
- Ask how long sealants and grout need to cure before you can use the shower.
- Walk through the finished work and note any concerns while the details are fresh.
- Verify how to register any product warranties and where to find care instructions.
When your new shower is ready to use, follow the site’s guide on how to clean and maintain your new shower so it stays in great shape for years.
Frequently Asked Questions About Preparing for a Shower Replacement
How far in advance should I start getting ready?
Begin basic planning one to two weeks before your start date. Clear the bathroom, confirm design choices, and discuss logistics with your installer a few days before work begins. On the day before, finish moving items and protecting nearby areas.
Do I need to be home during the project?
It’s helpful to be home at least at the beginning and end of each major phase to answer questions and review progress. Ask your contractor what they require and how they handle access if you need to step out.
Will my water be shut off the whole time?
In most cases, water is only turned off during certain plumbing tasks, not for the entire project. Other fixtures in your home may still be usable most of the day. Confirm this with your installer ahead of time.
How can I reduce dust and mess?
Close doors to non-work rooms, run bathroom ventilation if allowed, and do light vacuuming or damp mopping in nearby areas after each workday. Your contractor should handle major debris removal and basic cleanup.
Where can I learn more before the project starts?
The site’s shower replacement FAQs, cost guide, and article on DIY vs professional shower replacement can help you understand timelines, budgets, and what to expect from the process.